
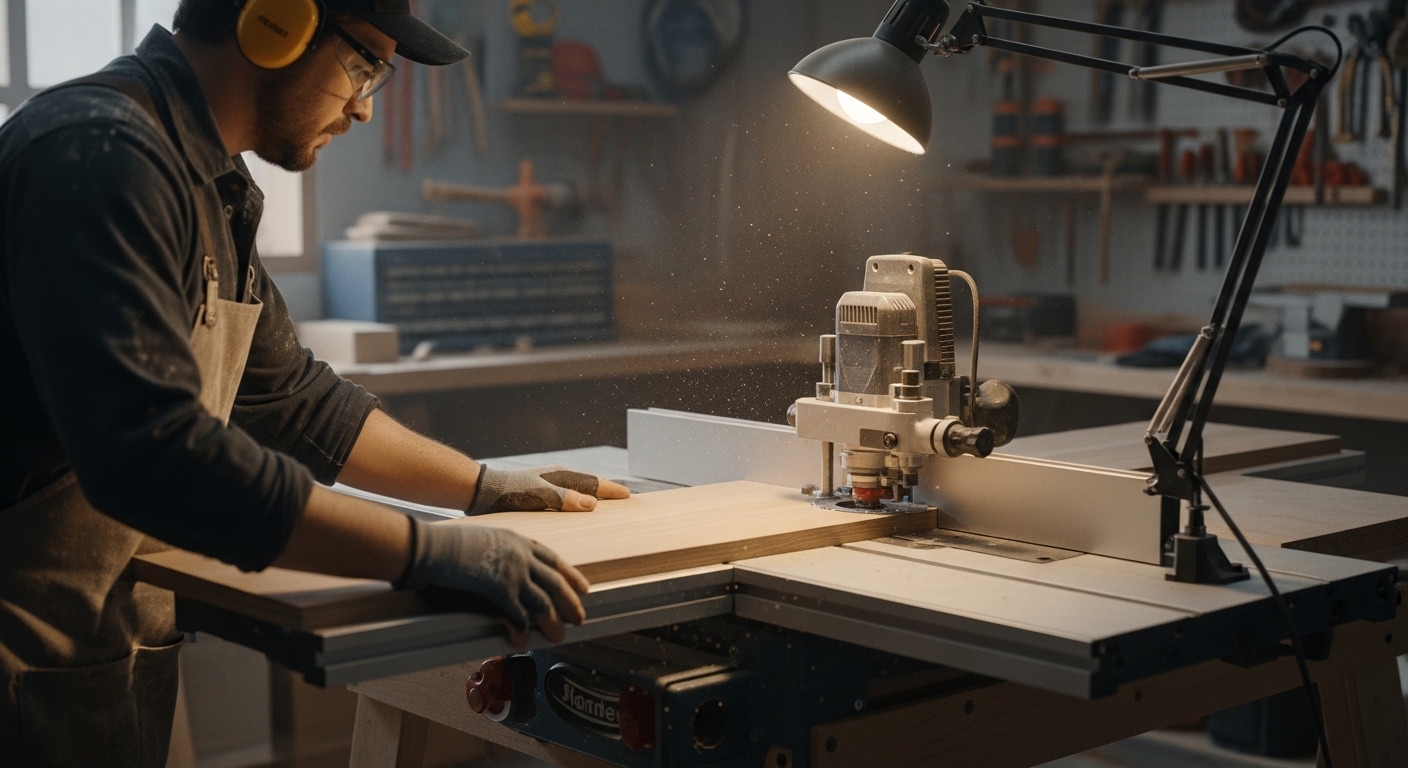
how to use a router table starts with understanding how control, stability, and precision come together to shape wood more safely and accurately than handheld routing. When you mount a router upside down in a table, you transform it into a stationary woodworking station where the workpiece moves instead of the tool. This simple shift changes everything about accuracy, repeatability, and safety in your workshop. Whether you are building cabinet doors, decorative moldings, or edge profiles, a router table becomes one of the most powerful tools you can master. Once you understand its setup and technique, you gain the ability to produce professional-quality finishes consistently without relying on guesswork or unstable handheld control.
A router table is not just an accessory; it becomes a core workstation for shaping edges, cutting joinery, and refining detailed woodworking projects. Many beginners underestimate it at first, but experienced woodworkers rely on it heavily for precision tasks. The key lies in learning how the fence, bits, feed direction, and speed work together in harmony when learning how to use a router table effectively.
Understanding what a router table actually does in woodworking
A router table holds your router upside down beneath a flat surface, exposing only the router bit above the table. Instead of moving the router across wood, you guide the wood across the spinning bit. This reversal provides greater stability, especially for small or narrow pieces that would be difficult or unsafe to handle with a handheld router.
The table typically includes a fence system, a miter gauge slot, and height adjustment controls. Each component plays a role in controlling how deeply and accurately the bit cuts into the wood. When used correctly, a router table gives you repeatable results that are nearly impossible to achieve freehand, which is why learning how to use a router table is so valuable for precision woodworking.
Setting up your router table the right way from the beginning
Before using a router table, proper setup determines everything about your results. A poorly aligned bit or unstable fence can ruin even the simplest cuts.
Start by mounting your router securely beneath the table. The base must sit flat without movement or vibration. Next, install the correct router bit based on your intended cut. Then adjust the bit height carefully, because even a small change affects cutting depth significantly.
Align the fence so it sits perfectly parallel to the bit. This step is critical when learning how to use a router table because misalignment leads to uneven cuts or burn marks. Always test on scrap wood before starting your real project.
Choosing the right router bits for better control and finish
Router bits define the quality of your work more than any other factor. Straight bits handle grooves and joinery, round-over bits soften edges, chamfer bits create angled detailing, and cove bits add decorative curves.
Sharp carbide-tipped bits produce cleaner results and reduce burning. Dull bits create tear-out and force you to rework the surface. Choosing the right bit is a major part of mastering how to use a router table effectively.
Feeding wood through a router table the correct way

Feed direction is one of the most important rules when learning how to use a router table. Always move the wood against the rotation of the bit. This gives you control and prevents kickback.
A steady feed rate is essential. Moving too fast causes rough edges, while moving too slow can burn the wood. Keep pressure consistent against the fence and table surface for stable results.
For safety and precision, use push sticks or feather boards when handling smaller pieces.
Essential safety habits every woodworker must follow
Safety is non-negotiable when using a router table. Always wear eye protection and avoid loose clothing that could get caught in the bit.
Keep hands away from the cutting area and use push tools whenever possible. Never start routing until the bit reaches full speed, and always wait for it to stop completely before making adjustments.
Understanding safety is a core part of learning how to use a router table correctly and confidently.
Common router table techniques that improve your results
Edge profiling is one of the most common uses, giving furniture a polished, professional finish. Dado cuts help create shelves and joinery slots, while rabbets assist in cabinet construction.
With practice, you can also use jigs and templates for repeatable shapes. These techniques expand what you can achieve once you understand how to use a router table beyond basic cuts.
Mistakes that reduce accuracy and damage your work
Many beginners rush the process. Incorrect feed speed often leads to burn marks or chipping. Poor bit height settings cause uneven cuts. Fence misalignment leads to inconsistent results.
Avoiding these mistakes is essential when mastering how to use a router table because precision depends on setup discipline and controlled movement.
Maintaining your router table for long-term performance
Clean dust regularly to maintain visibility and performance. Tighten all bolts and check alignment frequently. Keep router bits clean to ensure smooth cutting action.
Good maintenance supports everything you learn about how to use a router table efficiently and safely over time.